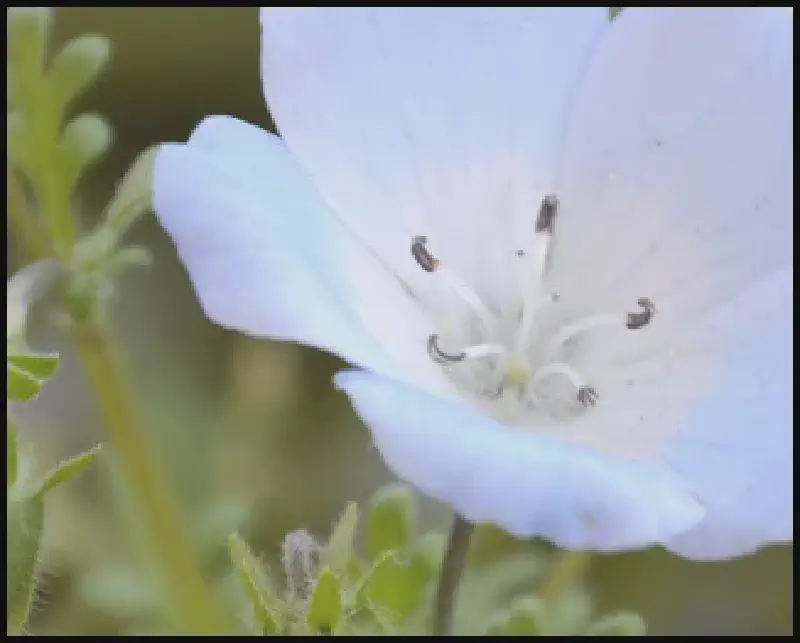
Here is how to add a border to an image using paint.net.
Steps
1. Open the image you want to add a border to in paint.net
2. Set the secondary color (this will be the color of the border)
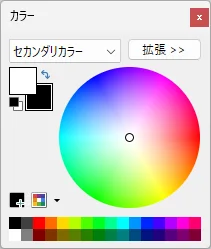
If the color palette is not displayed, press the F8 key on your keyboard.
If you want to set it to black, click on  .
.
3. Select Menu > Image > Canvas Size…
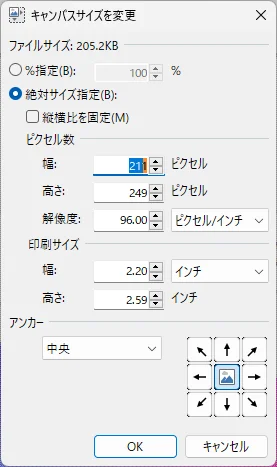
Increase the width and height by 2 pixels each. Increasing them by 2 pixels will create a 1-pixel border. If you want a 5-pixel border, increase the width and height by 10 pixels each.
Select “Middle” for the anchor, and click OK.
4. The border will be added to the image, so save the image.
That’s it.