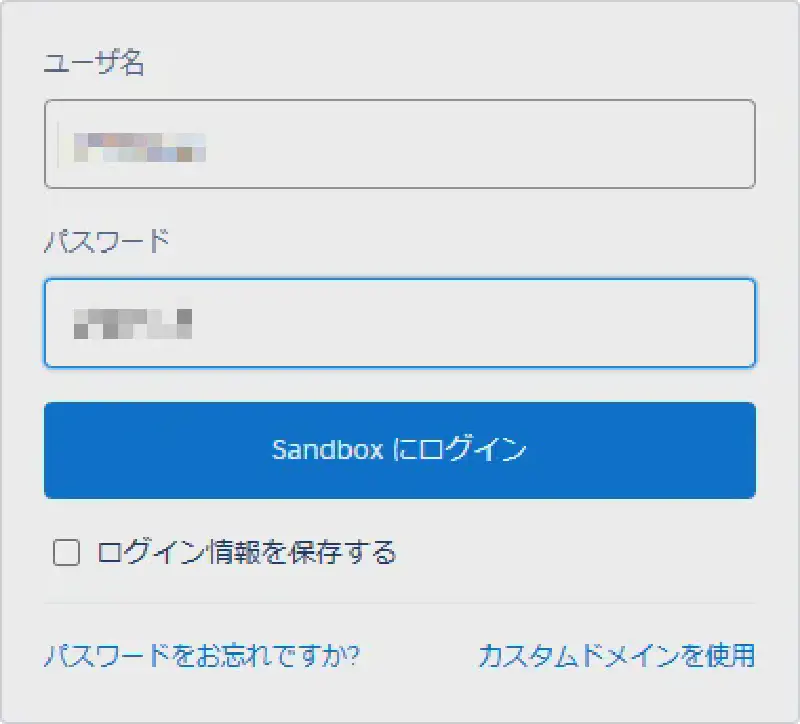
Here is how to apply a mosaic to specific parts of an image using paint.net.
When uploading an image to the internet, there may be times when you want to blur or pixelate a specific area. With paint.net, you can quickly edit your images.
Steps
1. Open the image you want to pixelate in paint.net
2. Use the selection tool to select the area you want to pixelate (multiple selections are possible)
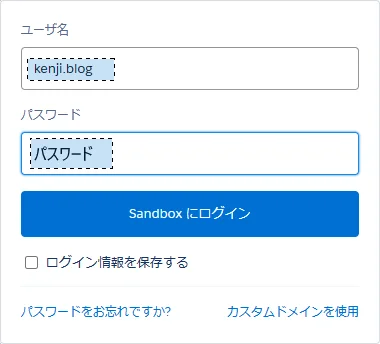
3. Select Menu > Effects > Distort > Pixelate
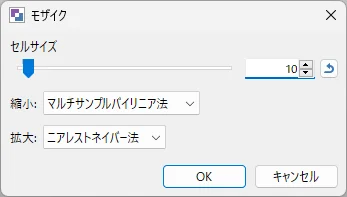
- Adjust the coarseness of the mosaic effect with the Cell Size. A larger value provides higher concealment.
- [Downsampling] Select
Multi-sampled bilinear - [Upsampling] Select
Nearest neighbor
Click OK to close the dialog.
4. The mosaic effect will be applied to the image, so you can now save it.
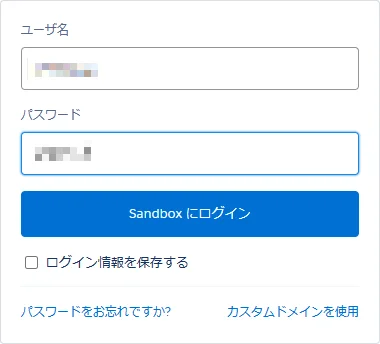
That’s it.