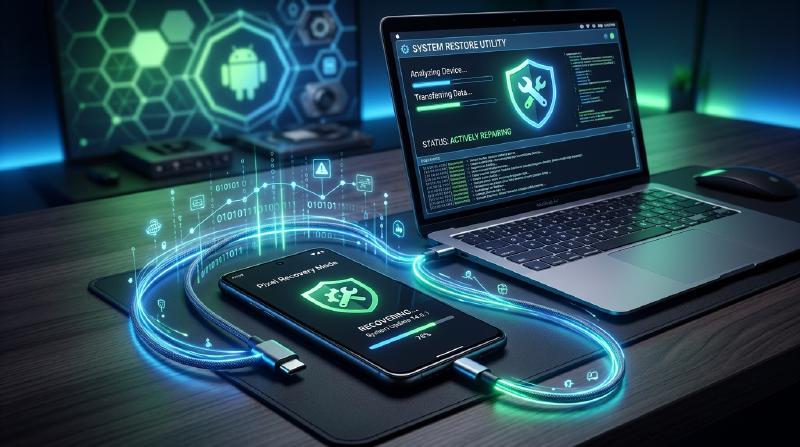
Android (Google Pixel) Device Restoration Procedure
If your Google Pixel device experiences severe system issues such as “repeatedly restarting (boot loop),” “stuck on the logo screen,” or “extremely unstable operation,” you can safely repair (restore) the device’s software via a browser using the official “Pixel Update and Software Repair” tool provided by Google.
This article details the specific steps and precautions for this process.
1. Access the Restoration Tool
First, from a browser (Google Chrome or Microsoft Edge recommended) on your PC (Windows or Mac), access the official repair tool page below.
🔗 Pixel Update and Software Repair Official Site
※ Note ※ Executing the restoration process may completely erase (initialize) the data on your device (photos, apps, contacts, etc.). If the device is still operable, be sure to back up your data to Google Drive or elsewhere beforehand.
2. Preparations for Restoration
To ensure the process goes smoothly, make the following preparations:
- Charge the Battery If the power turns off midway, the device could be bricked (completely broken). Charge it to at least 50%, or preferably fully charged.
- Prepare a Genuine USB Cable To ensure stable data transfer, it is strongly recommended to use the genuine USB-C cable included with the device.
- Install Drivers (If Necessary) When using a Windows PC, the device may not be recognized correctly. In that case, please install the Google USB Driver.
3. Specific Restoration Steps
Once preparations are complete, follow the on-screen instructions to proceed with the restoration.
Step 1: Select Carrier and Connect the Device
When you open the site, a screen to select your telecommunications carrier will appear. If you have a SIM-free version or are not tied to a carrier, select “Other”. Then, connect your PC and Pixel device using a USB cable.
Step 2: Put the Device into “Rescue Mode (Fastboot Mode)”
Following the on-screen instructions, from a powered-off state, press and hold the “Power button” and “Volume Down button” simultaneously to launch Fastboot mode (a screen with an Android mascot lying down on a black background).
Step 3: Recognize the Device on the PC
Click the “Connect your phone” button on the browser, and a pop-up will open listing the connected Pixel devices. Select the target device and allow the connection.
Step 4: Download and Install Software
Once the device is recognized, the optimal version of the Android OS (firmware) will automatically be selected. When you click “Install”, the software will be downloaded to your PC, and it will begin writing (flashing) to the device.
⚠️ Warning: During this process, ** absolutely do not unplug the USB cable or turn off the PC.**
Step 5: Completion and Initial Setup
The restoration is successful when the progress bar reaches 100% and a completion message is displayed. The device will automatically restart and display the same initial setup screen (“Hello” screen) as when it was purchased.
Summary
The official Google Pixel repair tool is an extremely excellent tool that allows you to safely reflash the firmware with just a few clicks in the browser, without needing to directly run special commands (like adb or fastboot).
Before taking a malfunctioning device to a repair shop, trying this procedure once might easily solve the problem. Please use this as a reference.